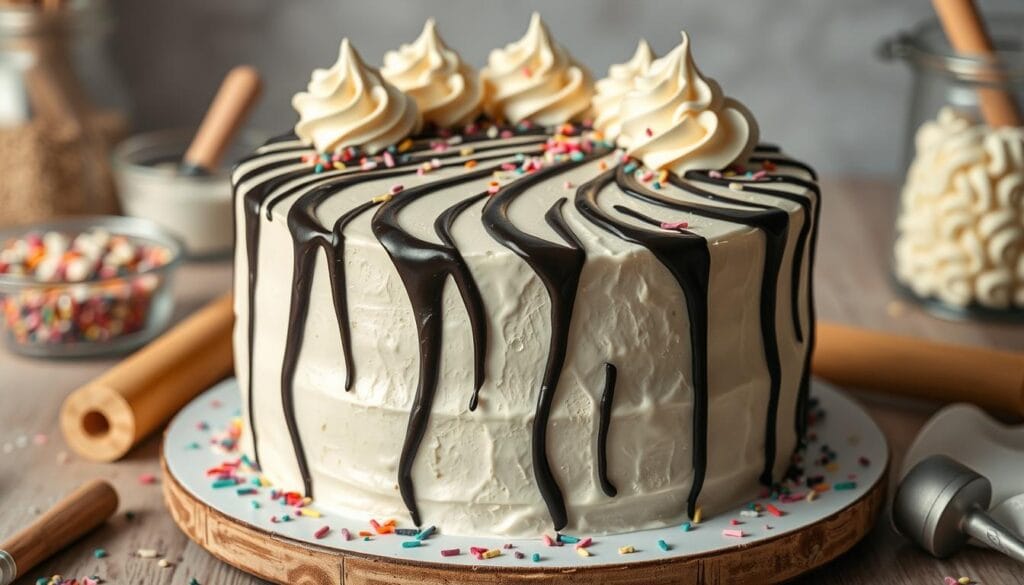
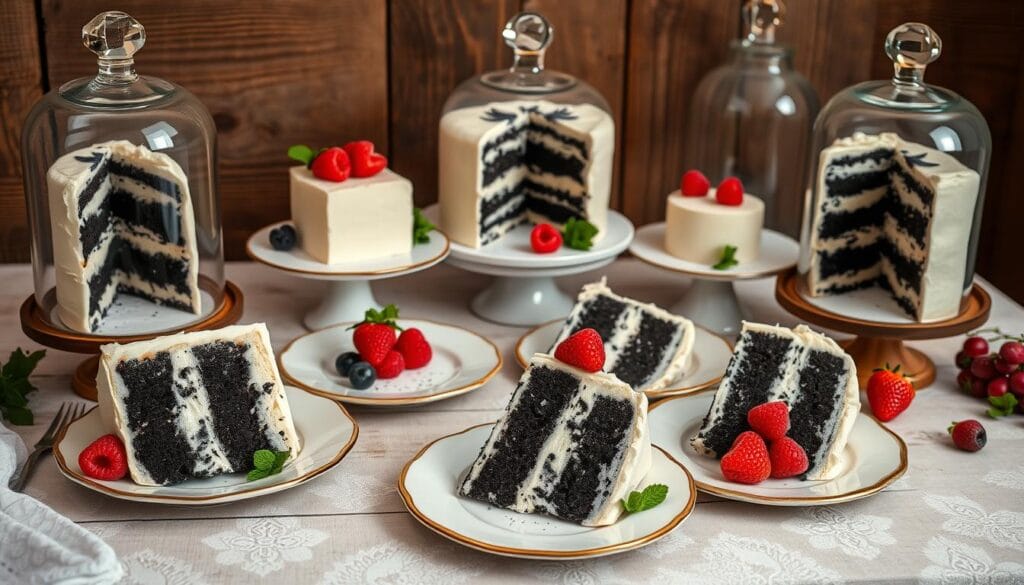
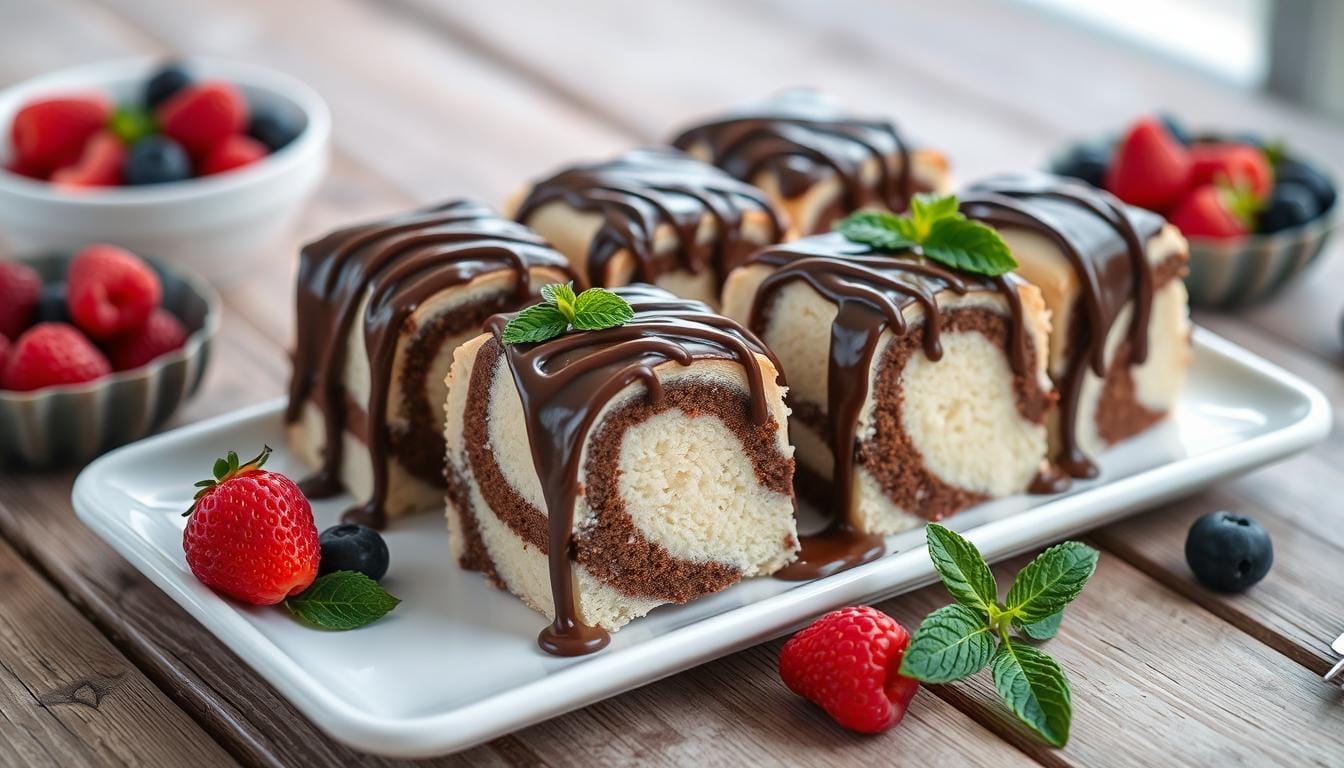
Do you remember the Little Debbie zebra cakes from your childhood? Making these treats at home is more than baking. It’s about bringing back happy memories. Today, we’ll turn your kitchen into a bakery, making zebra cakes that remind you of those favorite snacks.
Zebra cakes are more than a dessert. They’re a mix of vanilla cake, marshmallow filling, and white chocolate. This recipe is for everyone, whether you’re an experienced baker or just starting out.
With Betty Crocker Super Moist Vanilla Cake mix and a few other ingredients, you can make 16 zebra cakes. The whole process takes about 2 hours. It’s a great project for a weekend.
Are you ready to make your kitchen a place of sweet memories and flavors? Let’s start making homemade zebra cakes!
Understanding Zebra Cakes: A Brief Overview
Zebra cakes are a favorite snack in the United States. They are loved for their taste and unique look. Their story is as fascinating as their taste.
Little Debbie created these chocolate-striped cakes as a twist on traditional treats. They combined beauty with taste, becoming a favorite for many years.
The Origin of Zebra Cakes
The story of zebra cakes started with Little Debbie’s creative idea. Key points include:
- Introduced as a unique bakery-style snack cake
- Featuring a distinctive hexagonal shape
- Designed to appeal to both children and adults
Key Ingredients in Zebra Cakes
These cakes have a mix of ingredients that make them hard to resist:
| Ingredient | Description |
|---|---|
| Cake Base | Soft vanilla sponge cake |
| Filling | Creamy white filling |
| Coating | White icing with chocolate stripes |
Little Debbie sells these cakes for $2.68 for 10 snack cakes. This makes them a budget-friendly treat for families. The brand has created a recipe that combines texture, flavor, and looks in one package.
Whether you’re remembering childhood or trying them for the first time, zebra cakes are a favorite snack that crosses generations.
Essential Tools for Making Zebra Cakes
Making zebra cakes needs the right kitchen tools. These childhood favorites require careful preparation and specific tools for success.
Must-Have Kitchen Equipment
For your zebra cake baking journey, you’ll need a few key tools:
- Large mixing bowls (glass or stainless steel)
- Electric mixer or stand mixer
- Baking sheets (18×13 inches recommended)
- Parchment paper
- Measuring cups and spoons
- Spatula
Optional Tools for Easier Baking
Some extra tools can make your zebra cake baking better:
- Piping bag for precise batter layering
- Offset spatula for smooth frosting
- Hexagon cookie cutter for unique cake shapes
| Tool Category | Recommended Items | Purpose |
|---|---|---|
| Essential Tools | Electric Mixer | Mixing batter thoroughly |
| Measuring Tools | Precise Measuring Cups | Accurate ingredient proportions |
| Baking Surfaces | Non-Stick Baking Sheet | Uniform cake baking |
Having the right tools makes zebra cake baking fun. Invest in quality tools to create professional-looking treats.
Preparing the Batter for Zebra Cakes
Making the perfect zebra cake starts with the batter. These sweets need careful prep for their unique taste and texture. Your homemade zebra cake will beat any store-bought one with the right steps.
First, collect all your ingredients. You’ll need a mix of things to make a delicious zebra cake. It will wow your family and friends.
Dry Ingredient Essentials
Getting dry ingredients right is crucial. The success of your zebra cake depends on this step.
- 200 grams of all-purpose flour
- 1 teaspoon baking powder
- 1/2 teaspoon vanilla sugar
- A pinch of salt
- 2 tablespoons cacao powder (for chocolate layers)
Incorporating Wet Ingredients
Wet ingredients make your zebra cake batter come alive. They give it a rich, moist texture. This makes your cake stand out from store-bought ones.
- 4 large eggs
- 300 grams of sugar
- 100 grams of butter (softened)
- 250 grams creme fraiche (18-25% fat content)
Mix your wet ingredients thoroughly. Beat the eggs and sugar until they’re light and fluffy. Then, mix in the softened butter and creme fraiche slowly. This ensures a smooth batter.
Pro tip: Split your batter into two bowls. Add cacao powder to one for the zebra stripes. Pour 2 tablespoons of each batter into a 24 cm round baking form.
How to Create the Distinct Zebra Pattern
Making perfect zebra cakes is all about mastering striped layering. The chocolate-striped cakes get their iconic look from a special technique. This technique involves alternating batters to create stunning visual appeal.
Techniques for Striped Layering
To make beautiful zebra cakes, you need precision and patience. Begin by making two different batters – vanilla and chocolate. The goal is to create consistent layers that form the signature zebra pattern.
- Use a large spoon or measuring cup for consistent batter distribution
- Pour 3 tablespoons of vanilla batter into the center of the pan
- Immediately add 3 tablespoons of chocolate batter directly on top of the vanilla layer
- Repeat the process until all batter is used
Tips for Achieving Perfect Swirls
Creating flawless zebra cakes requires attention to detail. The chocolate-striped cakes need a gentle touch to form the distinctive pattern.
- Keep batter temperatures consistent
- Use room temperature ingredients
- Avoid overmixing when creating swirls
- Gently tap the pan to remove air bubbles
| Technique | Description | Difficulty Level |
|---|---|---|
| Vertical Layering | Alternating vertical stripes of batter | Easy |
| Circular Swirling | Creating circular patterns with a knife | Intermediate |
| Random Drizzling | Spontaneous chocolate batter placement | Advanced |
Practice makes perfect when making zebra cakes. Each try will help you get better at creating visually stunning desserts. Remember, keeping batter thickness consistent and layering carefully are key for those perfect stripes.
Baking Your Zebra Cakes Perfectly
Making delicious homemade zebra cakes needs focus and care. The right oven temperature and timing make all the difference. It turns your dessert into something truly special.
Mastering Oven Temperature
For the best homemade zebra cakes, heat your oven to 350°F (175°C). This temperature ensures they bake evenly. It also helps create the unique striped look. Being consistent is crucial for these tasty treats.
- Preheat oven to exactly 350°F
- Use an oven thermometer for accuracy
- Position rack in the center of the oven
Precise Baking Time and Techniques
Baking zebra cakes requires careful timing. Aim for 35-40 minutes in the oven. You want a golden-brown outside and a soft inside.
Checking Cake Doneness
To check if your zebra cakes are done, try these methods:
- Toothpick Test: Stick a toothpick into the cake’s center
- Clean Toothpick: If it comes out clean, it’s done
- Gentle Touch: The cake should spring back when pressed lightly
| Baking Parameter | Recommended Value |
|---|---|
| Oven Temperature | 350°F (175°C) |
| Baking Time | 35-40 minutes |
| Doneness Indicator | Clean Toothpick |
Pro tip: Don’t open the oven door too often. It can mess up the baking and make your zebra cakes sink.
Frosting Your Zebra Cakes
Creating the perfect cream-filled cakes brings back memories of childhood favorites. The right frosting can turn your zebra cakes into extraordinary treats. Everyone will love them.
Choosing the Right Frosting
Marshmallow buttercream is the ultimate filling for zebra cakes. It combines rich flavors with a smooth, creamy texture. This frosting completes your dessert perfectly.
- Key ingredients for marshmallow buttercream:
- Unsalted butter (1 cup)
- Powdered sugar (1 cup)
- Marshmallow fluff (1 cup)
- Vanilla extract (1 teaspoon)
Applying the Frosting Smoothly
Achieving the perfect frosting takes technique and patience. First, make sure your cake layers are completely cool. This prevents the frosting from melting.
- Beat butter until creamy
- Gradually add powdered sugar
- Fold in marshmallow fluff
- Mix until smooth and spreadable

Pro tip: Use an offset spatula for an even frosting layer. This ensures a perfect cream-to-cake ratio. It makes these treats irresistible.
| Frosting Characteristic | Recommended Specification |
|---|---|
| Consistency | Smooth, spreadable |
| Temperature | Room temperature |
| Quantity per Layer | 3-4 tablespoons |
| Chilling Time | 15-20 minutes between layers |
Remember, the secret to perfect zebra cakes lies in the delicate balance of cake and frosting!
Creative Variations of Zebra Cakes
Zebra cakes are loved for their endless possibilities in baking. The classic recipe is a hit, but you can also try new flavors. These changes turn these sweets into special treats.
Chocolate and Vanilla Twists
Make your zebra cake even better by adding chocolate. You can mix chocolate and vanilla in different ways:
- Replace half the vanilla batter with chocolate batter for a classic marble effect
- Add cocoa powder to create darker chocolate swirls
- Use chocolate ganache between cake layers for extra decadence
Adding Fruit Flavor Profiles
Introduce fresh fruit flavors to your zebra cakes. Try these options:
- Incorporate raspberry puree into vanilla batter
- Add lemon zest for a bright, citrusy undertone
- Create strawberry-infused cream filling
| Variation Type | Flavor Profile | Recommended Ingredients |
|---|---|---|
| Chocolate Swirl | Rich and Decadent | Dark cocoa powder, chocolate chips |
| Citrus Twist | Light and Refreshing | Lemon zest, orange extract |
| Berry Burst | Sweet and Tangy | Raspberry puree, fresh berries |
Remember, baking zebra cakes is all about creativity. Don’t be afraid to mix and match flavors to find your favorite.
Storing and Preserving Zebra Cakes
Keeping your homemade zebra cakes fresh is key. Whether you bake at home or want to keep Little Debbie-style treats, right storage keeps them tasty and fresh.
Best Practices for Freshness
Homemade zebra cakes stay fresh for a long time with the right storage. Here are some tips to keep them delicious:
- Store in an airtight container at room temperature
- Keep away from direct sunlight and heat sources
- Maintain room temperature between 68-72°F
- Use within 5-7 days for optimal taste
Freezing Zebra Cakes for Longer Shelf Life
Freezing is a great way to keep zebra cakes fresh longer. Here’s how to do it right:
- Wrap each cake individually in plastic wrap
- Place wrapped cakes in a freezer-safe container
- Label with the date of freezing
- Store for up to 6 months
| Storage Method | Duration | Quality Preservation |
|---|---|---|
| Room Temperature | 5-7 days | Good |
| Refrigerated | 3-7 days | Very Good |
| Frozen | Up to 6 months | Excellent |
When you’re ready to eat your frozen zebra cakes, thaw them at room temperature. Pro tip: Take them out of the freezer and let them sit for 1-2 hours before eating. This helps them get back to their original taste and texture.
Serving Suggestions for Zebra Cakes
Zebra cakes are more than just a snack. They turn any moment into a special event. These treats are a joy to share and enjoy.

Perfect Beverage Pairings
Make your zebra cake experience even better with these drinks:
- Cold milk for a nostalgic touch
- Hot coffee for an adult twist
- Herbal tea for a sophisticated pairing
- Vanilla milkshake for extra indulgence
Ideal Occasions for Serving
Zebra cakes are perfect for many events:
- Afternoon tea parties
- Children’s birthday celebrations
- Office potlucks
- Family gatherings
- Weekend brunch desserts
When serving, cut the cakes into neat slices. Present them on elegant platters. Pro tip: A light dusting of powdered sugar makes them look even better.
For big events, try making mini zebra cakes in cupcake tins. They’re perfect for guests and can make up to 16 cakes. This way, everyone gets a piece of this delightful treat.
Troubleshooting Common Zebra Cake Issues
Making perfect homemade zebra cakes takes skill and practice. Even experienced bakers face challenges. Knowing common problems helps you make delicious zebra cakes every time.
If your zebra cakes are dry, it’s all about moisture. Use room temperature ingredients and measure flour carefully to avoid over-mixing. Adding buttermilk or sour cream helps keep the cakes moist. Check them a few minutes before the suggested baking time to prevent overcooking.
Overcoming Dryness
To avoid uneven layers, pour batter consistently. Alternate chocolate and vanilla batters carefully. Use a measuring cup or squeeze bottle for accuracy. Gently tap the pan before baking to get rid of air bubbles and achieve smooth layers.
Fixing Uneven Layers
Getting chocolate stripes right can be hard for beginners. Make sure your batters are the same consistency by weighing ingredients. Use a toothpick or small offset spatula to make clean stripes. With practice and patience, you’ll master the zebra cake technique and impress everyone.

